Denise is a devoted organic gardener who challenges herself to live as sustainably as possible in her home in southeastern Pennsylvania. She is a professor in the Department of Communication and Media at West Chester University with a Ph.D. from Kent State University. Her teaching and research areas consist of sustainability, close interpersonal relationships, integrating work and family, and conflict resolution.
For millennia, seed saving for the next planting season was a survival skill. In many parts of the world it still is. While commercial seeds are widely available and used, having the knack for seed saving from your own garden is fun, a learning opportunity, and a way to keep favorite plants continuing to give and give over future years. I’m relatively conservative with seed saving. It’s not that it is particularly difficult – a little more labor intensive with some plants than with others. Although it may seem a bit counterintuitive, my favorite seed catalog encourages their customers to save and to reuse seeds. This, in contrast to some companies who patent seeds so that farmers and gardeners may not legally save seeds, thus forcing them to purchase new seeds from the company annually.
I try to stick to open-pollinated plants. The advantage is that plants from the seeds will be very similar to their parents. This is in contrast to a hybrid – crossing species/variety/cultivar of one plant with a related plant. Sometimes it is as easy as collecting dry seed heads or pods and keeping them over the winter.
Bean Seeds
Perhaps one of the easiest seeds to save for a beginner is beans – whether they are pole, bush, or snap. If they are open pollinated, it just requires you to let the pods dry out and then to take out the bean seeds and store them (best in an envelope in a climate-controlled area). If you grow multiple types of beans, it is good to keep them at least 10 or more feet apart – although they are self-pollinating.
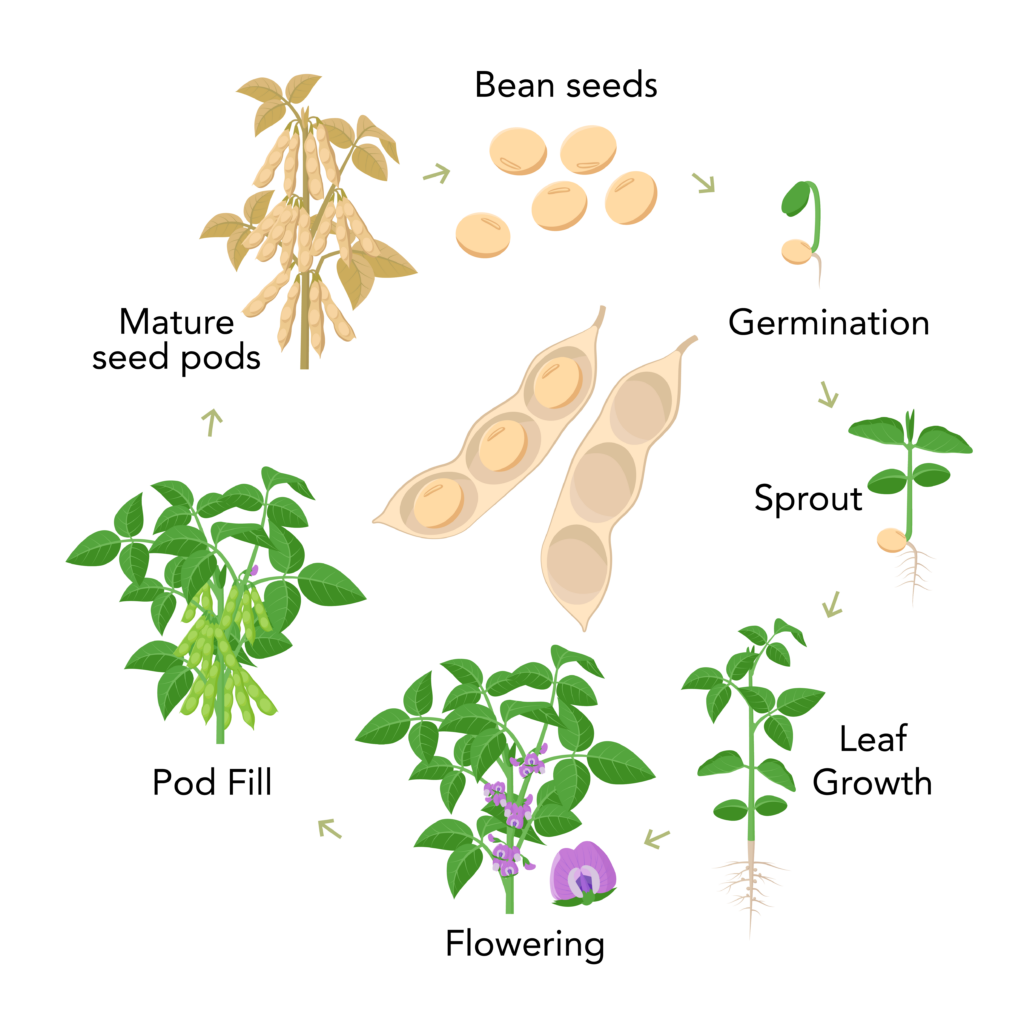
Soybean plant growth stages; Planting process from seeds, sprout to ripe vegetable, soya bean life cycle.
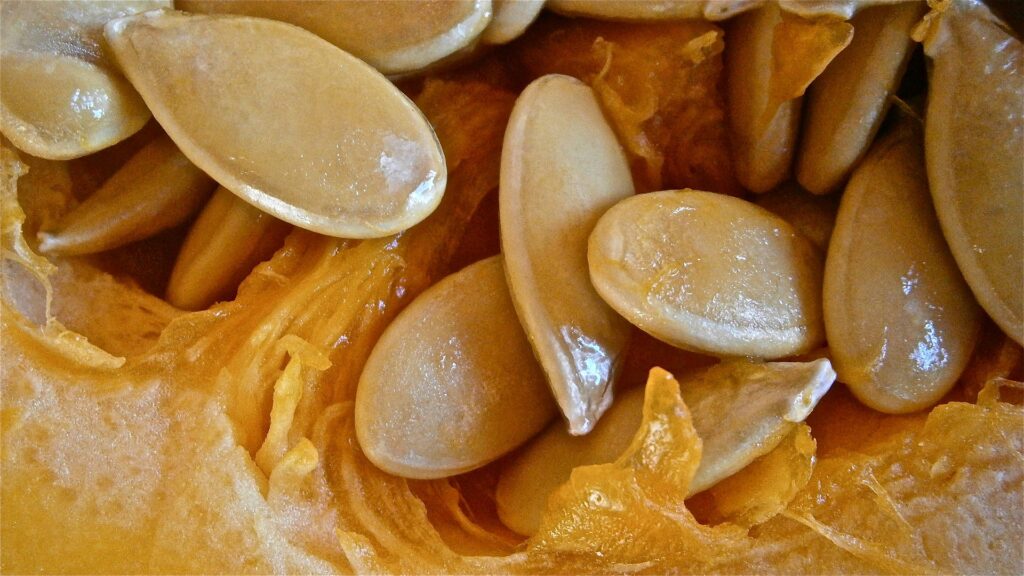
pumpkin and squash seeds
Another pretty easy seed to save is from various open-pollinated pumpkin and squash seeds. This is a little more labor intensive because it requires washing all the pulp from the pumpkin “guts” and drying the seeds (just a cool, dry spot for about a week), but that’s really all that is required. I’ve done this with great success with a lesser known variety of winter squash. These Greek Sweet Red Squash produce well, and the squash average about seven pounds per butternut-shaped fruit. They’re a great addition for my own use and to donate to my local food cupboard.
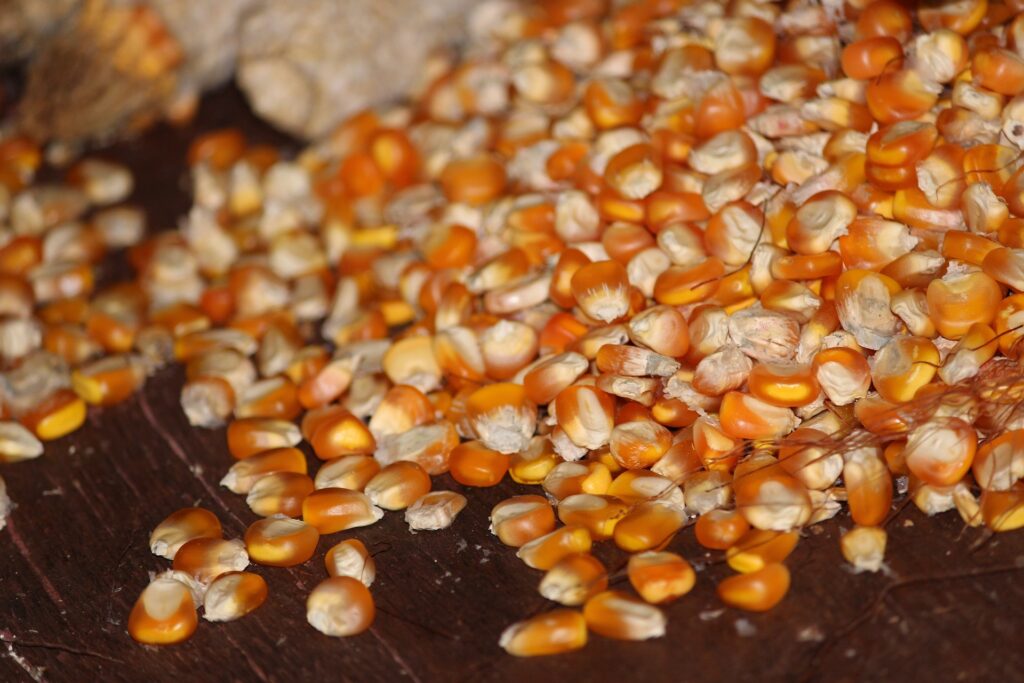
Another fairly easy garden plant to save seeds is corn. I live in a neighborhood where I am confident I am the only person growing corn (most years it has been popcorn), but at least I feel confident this crop is non-GMO since it is harder to guarantee the purity of the crop. I just leave the corn on the stalk until the silk turns brown, harvest, and air dry the cobs. Then I remove the kernels and make sure I store them in a rodent-proof container (both the kernels I want to pop as well as the ones I want to save for next year).
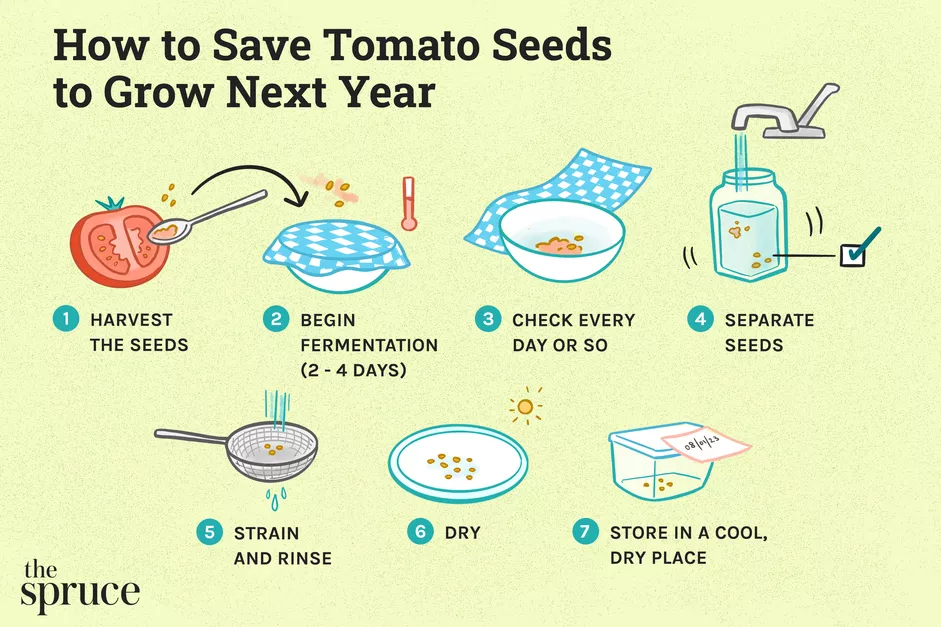
Tomato seeds are another pretty easy one. I have found that, in some seasons, “volunteers” sprout seemingly everywhere. These plants tend to be quite vigorous; however, since I tend to grow several varieties, I never know which varieties have volunteered until they start to bear fruit. Therefore, one way to exercise a little more control would be to save seeds from mature tomatoes.
Place in a seed envelope that you have labeled with the variety and the year of harvest
The major difference is that it’s often recommended to allow the tomato to rot and ferment – it gives the seeds a chance to “shed” a gel-like sack. Put the tomatoes in a container. If there is not enough liquid from the tomato pulp for the seeds to float, it’s OK to add up to a cup of water to help the seeds separate from the pulp. It will take 2-4 days for you to encourage the fermentation if you harvested the tomatoes before they rotted. (As with all fermentation, it can get a little stinky, so you may want to place your fermentation container somewhere that you don’t walk by a dozen times a day). Checking every day or so, you’ll eventually see some mold at the top. Seeds will settle to the bottom. Then you can separate the seeds from the mold/liquid. Rinse seeds with water and allow to dry.
Other seeds
Other seeds are a little trickier. Some plants will require enclosing them (using row cover material to completely enclose a caged plant). Then, when blooms open, use a fine brush to move pollen from one flower to another. After that, you need to surround the flower heads with row cover material and tie it at the base. When the stems are dry and brown, the seeds are ripe and you can tip the bag and cut the stem in order to catch falling seeds.
So, what are you waiting for? Let’s make this year the year to start saving your garden’s bounty.